
Keycloak + OpenLDAP
Authentication can be a tricky thing to get right. We probably all have gone the route of rolling our own auth once or twice, but doing so forces you to spend time writing an auth application instead of what you wanted to. Enter: Keycloak. An Identity Provider (IDP) and Auth Provider that can be used for MANY use-cases. When paired with an LDAP such as OpenLDAP we can get so much more out of Keycloak.
There are a couple reasons why I chose to go the route of Keycloak. One, being familiarity since its another software I use at work and home. Flexibility, since it provides many ways for auth for any of my clients. Finally the plethora of features, there more too it than meets the eye! You can do a lot of cool stuff with it once you get it fully setup.
For my current use I am trying to secure all my applications that I personally use with SSO and a single point of truth for user accounts across all my apps. Later on, I am looking to utilize other features in Keycloak like realms, and hosting (or configure your existing one LOL) more OpenLDAP instances for those realms so Keycloak can handle external user federation and account management for my applications, instead of using Authelia or Auth0 to handle things like that.
Assumptions
You have some understanding of docker, networking and ports. Some values below are expected to be swapped out for your use, such as the word example: e.g. LDAP_DOMAIN=example.com. You know how to use and create environment variables. You use an external application that handles or sets up SSL certificates for your use case and domain. You have the knowledge to adjust the information in this page for your specific use case, as you know everything may not work out-of-the-box on your host.
Setting Up - OpenLDAP
This one was a PITA at first, but once I figured out how to setup LAM (LDAP Account Manager) it makes the process of setting up your LDAP a LOT easier.
networks:
    net:
      external: false
services:
  openldap:
    image: osixia/openldap:latest
    container_name: openldap
    ports:
      - "389:389"
      - "636:636"
    environment:
      - LDAP_ORGANISATION=example-com
      - LDAP_DOMAIN=example.com
      - LDAP_ADMIN_USERNAME=admin
      - LDAP_ADMIN_PASSWORD=${PASSWORD}
      - LDAP_TLS_VERIFY_CLIENT=never
      - loglevel=debug
    volumes:
      - /DATA/AppData/openldap/data:/var/lib/ldap
      - /DATA/AppData/openldap/config:/etc/ldap/slapd.d
      - /DATA/AppData/openldap/ldifs:/ldifs:ro
    networks:
      - net
  openldap-ui:
    image: wheelybird/ldap-user-manager:latest
    container_name: openldap-ui
    environment:
      - LDAP_URI=ldap://openldap:389
      - LDAP_BASE_DN=dc=example,dc=com
      - LDAP_REQUIRE_STARTTLS=FALSE
      - LDAP_ADMINS_GROUP=admins
      - LDAP_ADMIN_BIND_DN=cn=admin,dc=example,dc=com
      - LDAP_ADMIN_BIND_PWD=${PASSWORD}
      - LDAP_IGNORE_CERT_ERRORS=true
      - NO_HTTPS=TRUE
      - PASSWORD_HASH=SSHA
      - SERVER_HOSTNAME=localhost:18080
    depends_on:
      - openldap
    ports:
      - 18080:80
    networks:
      - net
After the stack is deployed, we can navigate to our LAM instance by going to http://openldap-ui:18080/setup and logging in with your password. You will end up at the following page.
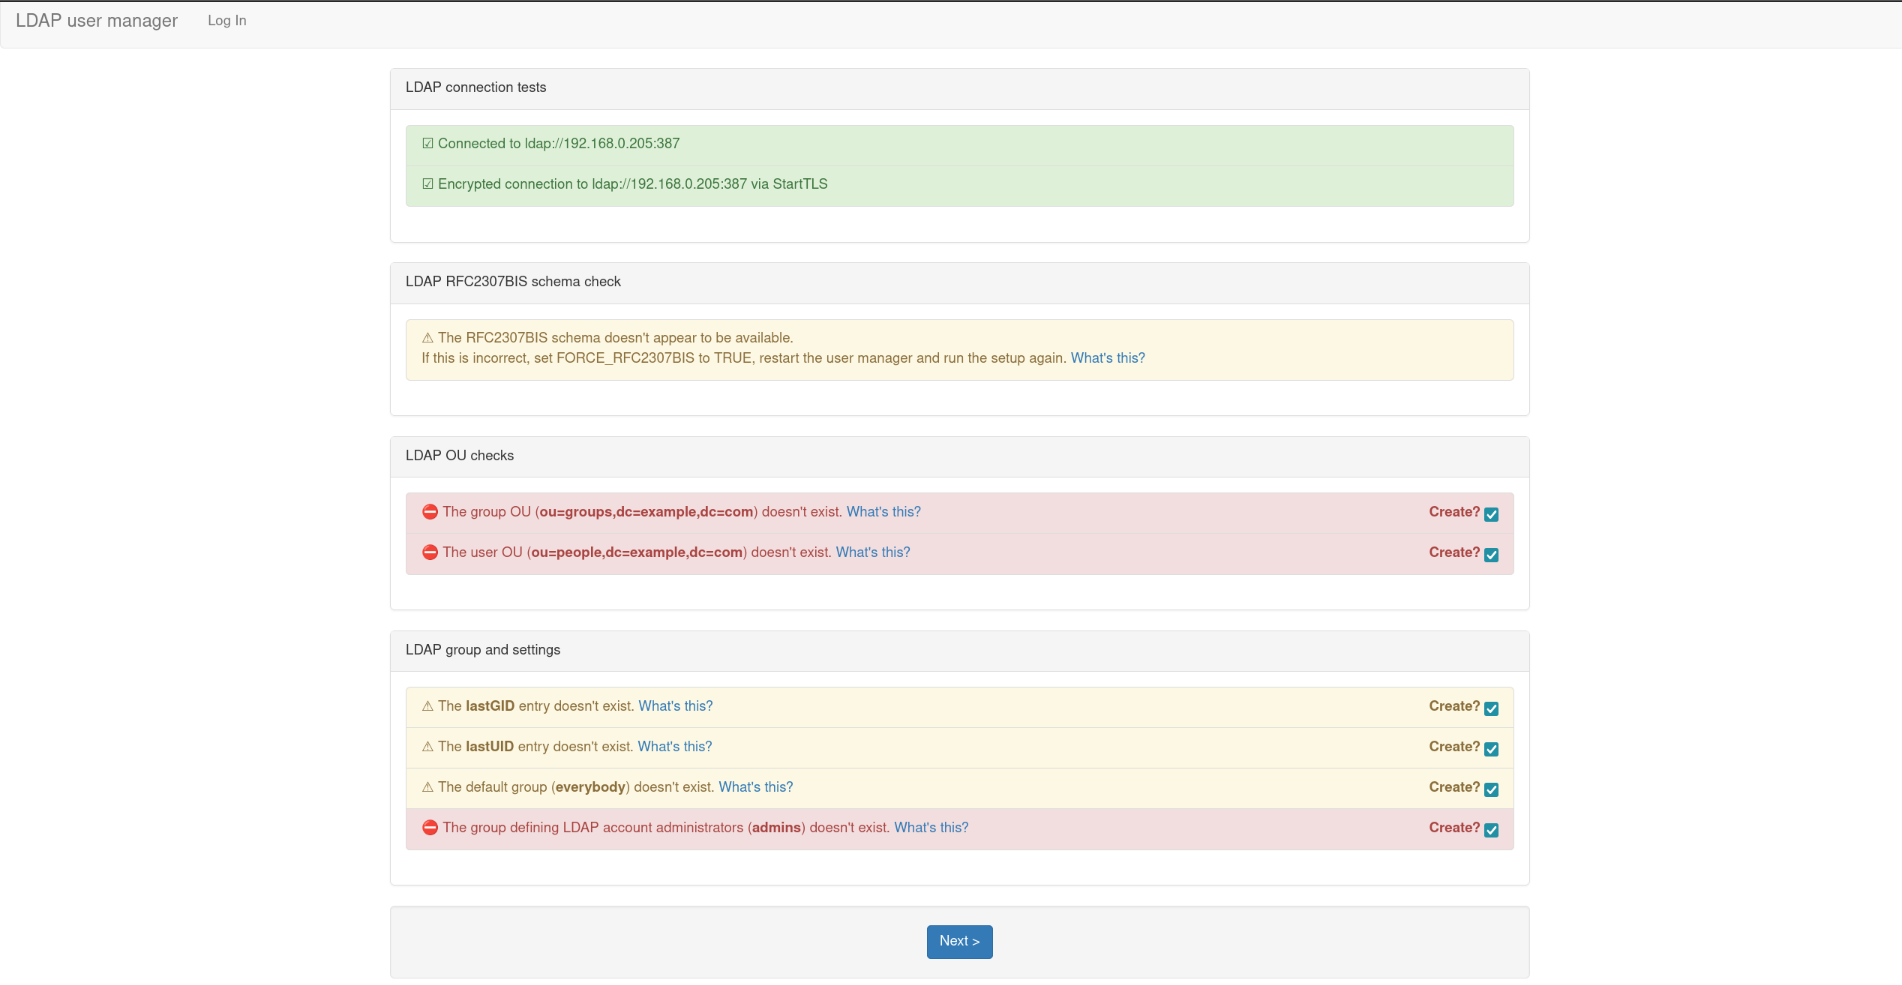
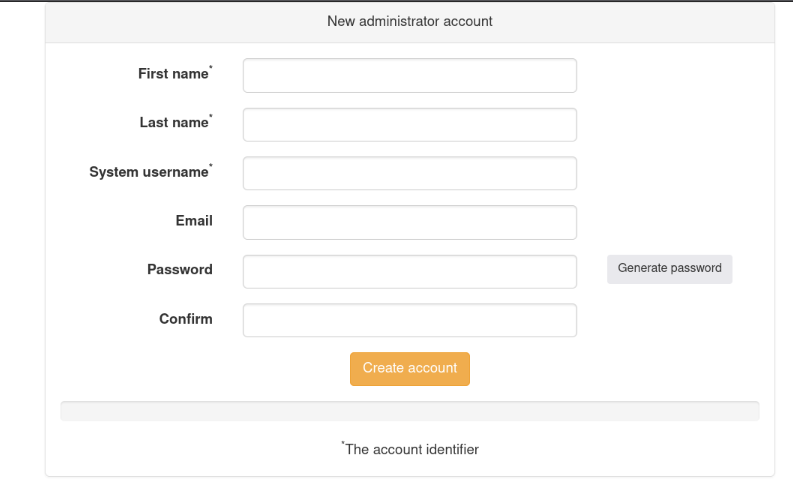
You can click next and then the create administrator button on the following page. Create your account and you will be brought to the LDAP Account Manager user list page.
Setting Up - Keycloak
Now that we have OpenLDAP setup and configured we can get to setting up Keycloak! We can setup Keycloak with the following docker-compose.yml.
networks:
    net:
      external: false
services:

  keycloak_web:
    image: quay.io/keycloak/keycloak:latest
    container_name: keycloak
    command: start --http-enabled=true
    environment:
      KC_DB: postgres
      KC_DB_URL: jdbc:postgresql://keycloakdb:5432/keycloak
      KC_DB_USERNAME: keycloak
      KC_DB_PASSWORD: ${password}
      KC_HOSTNAME: https://example.com
      KC_LOG_LEVEL: info
      KC_METRICS_ENABLED: true
      KC_HEALTH_ENABLED: true
      KC_BOOTSTRAP_ADMIN_USERNAME: admin
      KC_BOOTSTRAP_ADMIN_PASSWORD: ${adminpassword}
    depends_on:
      - keycloakdb
    ports:
      - 8008:8080

  keycloakdb:
    container_name: keycloakdb
    image: postgres:15
    volumes:
      - /DATA/AppData/keycloak/postgres_data:/var/lib/postgresql/data
    environment:
      POSTGRES_DB: keycloak
      POSTGRES_USER: keycloak
      POSTGRES_PASSWORD: ${password}
volumes:
  postgres_data:
It will take a minute or two for Keycloak to get setup, once it does you can access it at http://keycloak:8008 and log in with the admin password you set in the ENV. Once logged in there are a couple things we need to do.
- (Optional) Create a new realm, if you want to separate this.
- Click on
User Federationin the sidebar. - Add a new LDAP provider.
- Change vendor type to
other - Set connection url to you url:
ldap://openldap:389thenTestto ensure it works. - Set the BindDN to
cn=admin,dc=example,dc=com - Set the Bind Credentials to what you put in the compose file and
Testto ensure it works. - Set edit mode to
writable - Set Users DN to
ou=people,dc=example,dc=com - Set Username LDAP attribute, RDN LDAP attribute, UUID LDAP attribute to
uid - Set Search Scope to
Subtree - Enable
Enable the LDAPv3 password modify extended operationin Advanced Settings - Save it.
- Re-open the LDAP config, click actions then
Sync all usersto verify it worked.
Now we need to setup the group mappers so that the groups made in OpenLDAP show up and so you can create groups and manage everything through Keycloak.
- Re-open the LDAP, click on the
Mapperstab - Click the
Add Mapperbutton and name itgroupand use thegroup-ldap-mappertype - Set the LDAP Groups DN to
ou=groups,dc=example,dc=com - Set Group Object Classes to
posixGroup - Uncheck
Preserve Group Inheritance - Set Membership LDAP Attribute to
memberuid - Save it.
- On the mappers page, click actions then
Sync groups from LDAP to Keycloakto verify it worked.
After you have verified that everything is working, you can now go to the users page and create your first user. If everything goes well you should see your new user in Keycloak and LDAP Account Manager with the groups! You can easily extend this using GCP so you can use your gmail or other google mail account for SSO. Hope this helps!